
Hello, digital adventurers and WordPress enthusiasts! I’m your guide in the ever-evolving landscape of SEO. Today, we’re embarking on an exciting journey to harness the power of one of the most renowned SEO tools in the WordPress galaxy – Yoast SEO. Whether you’re crafting your first blog, running a bustling online business, or simply dipping your toes into WordPress, Yoast SEO is your ally in optimizing your site for search engines and audiences alike.
Why Choose Yoast SEO?
Yoast SEO stands out as a beacon in the WordPress SEO sphere for several compelling reasons:
- Simplifying SEO – Yoast demystifies the complexities of SEO, making it accessible for all skill levels.
- Keyword Optimization – It guides you in choosing and effectively using your target keywords.
- Content Readability – Yoast offers invaluable feedback on the readability of your content, ensuring it’s not just search-engine friendly, but also user-friendly.
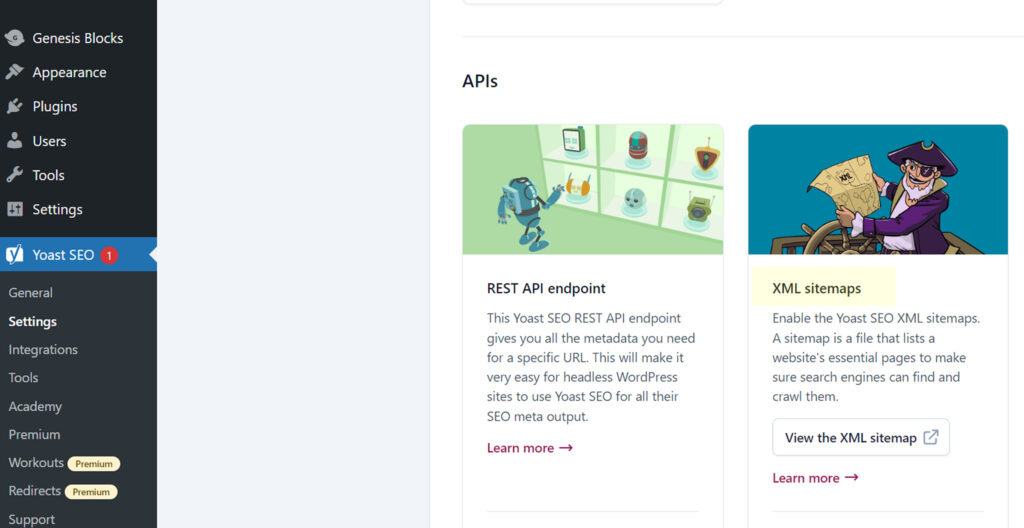
- XML Sitemaps – Automatically generating XML sitemaps, Yoast ensures search engines can easily navigate and index your site.
Yoast SEO Installation Steps
Before we dive into the installation process, ensure you have administrator access to your WordPress dashboard. This is crucial for installing any plugin, including Yoast SEO.
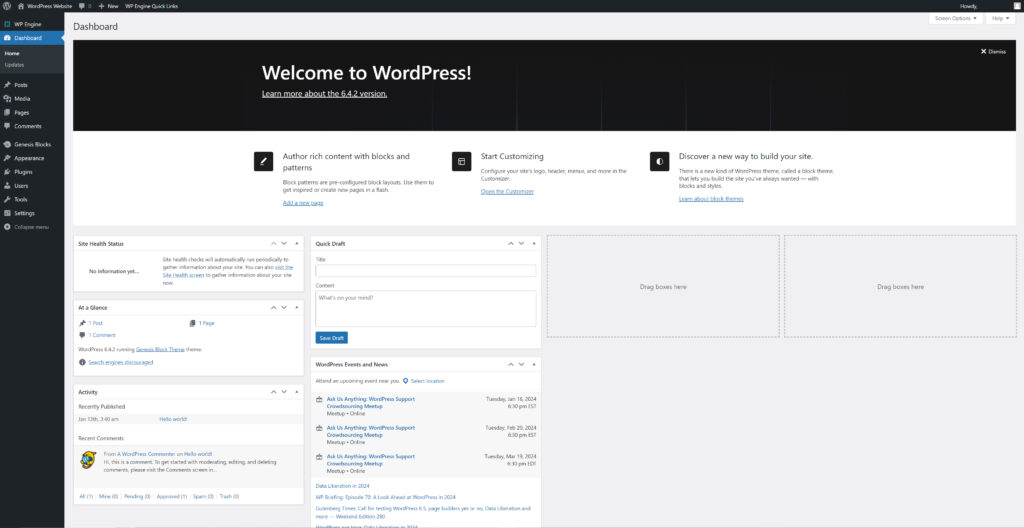
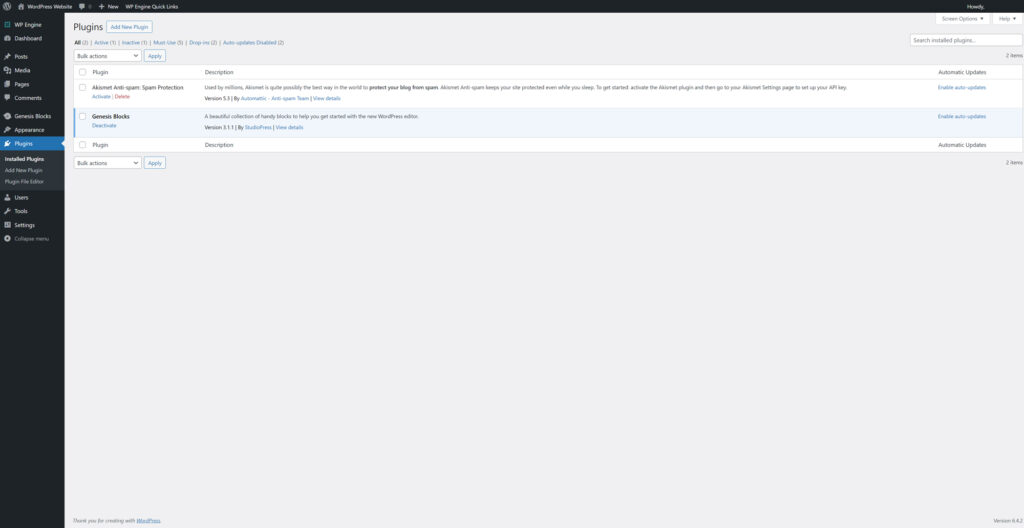
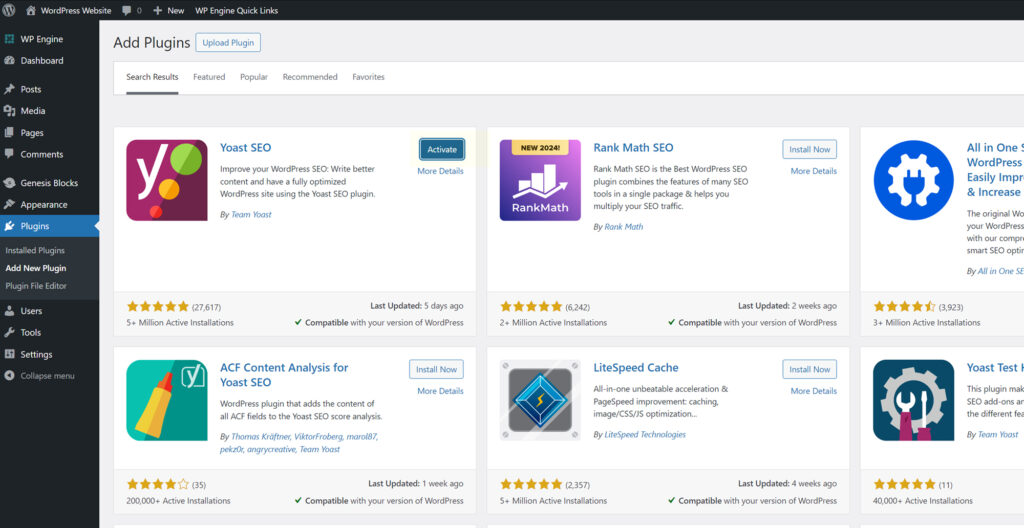
1. Navigating to Plugins – In your dashboard, find ‘Plugins’ on the left sidebar and select ‘Add New’. This is like opening a treasure chest of WordPress enhancements.
2. Logging into WordPress – Your journey begins at your WordPress admin area – the command center for your site.
3. Finding Yoast SEO – Type ‘Yoast SEO’ in the search bar on the ‘Add Plugins’ page. It’s like summoning a powerful digital genie!
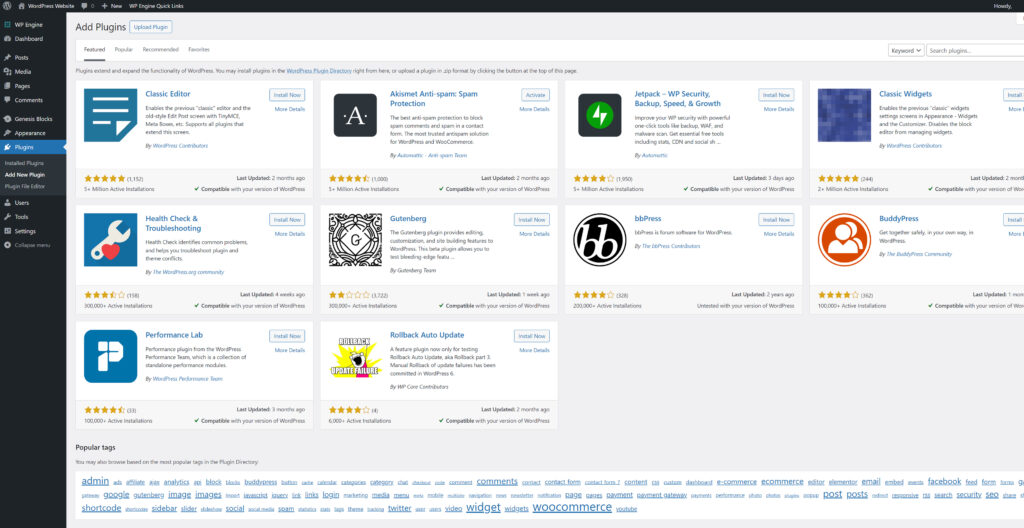
4. Installing the Yoast SEO Plugin – Click ‘Install Now’ next to Yoast SEO. Watch as WordPress seamlessly downloads and installs your new SEO ally.

5. Activating Yoast SEO – After installation, a crucial step is to activate the plugin. This is like turning the key to unlock its potential.
6. Exploring Yoast SEO – Once activated, Yoast SEO appears in your dashboard. Take a moment to explore its settings and familiarize yourself with its features.
Post-Installation Adventure
With Yoast now a part of your WordPress arsenal, it’s time to explore its capabilities:
Create Your First Sitemap – This is essential for search engines to understand the structure of your site.
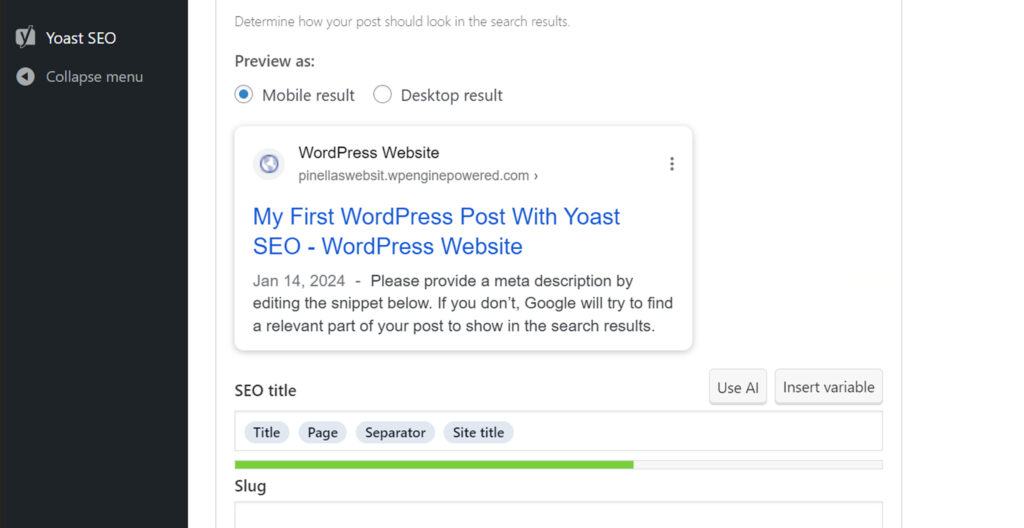
Optimize a Blog Post – Use Yoast’s SEO analysis to refine your content, ensuring it resonates with both search engines and readers.
Remember, while Yoast SEO is a powerful tool, the true magic lies in your content and how you wield this tool to enhance it.
Congratulations! You’ve successfully integrated Yoast SEO into your WordPress site, marking the beginning of a thrilling SEO journey. This is just the first step toward mastering the art of online visibility and engagement. For more insights, tricks, and tips, stay connected and explore my other tutorials.
Thank you for joining us on this SEO escapade! To continue learning and growing in the realms of WordPress and SEO. Stay tuned for more empowering content, and let’s navigate the vast and exciting world of SEO together!